
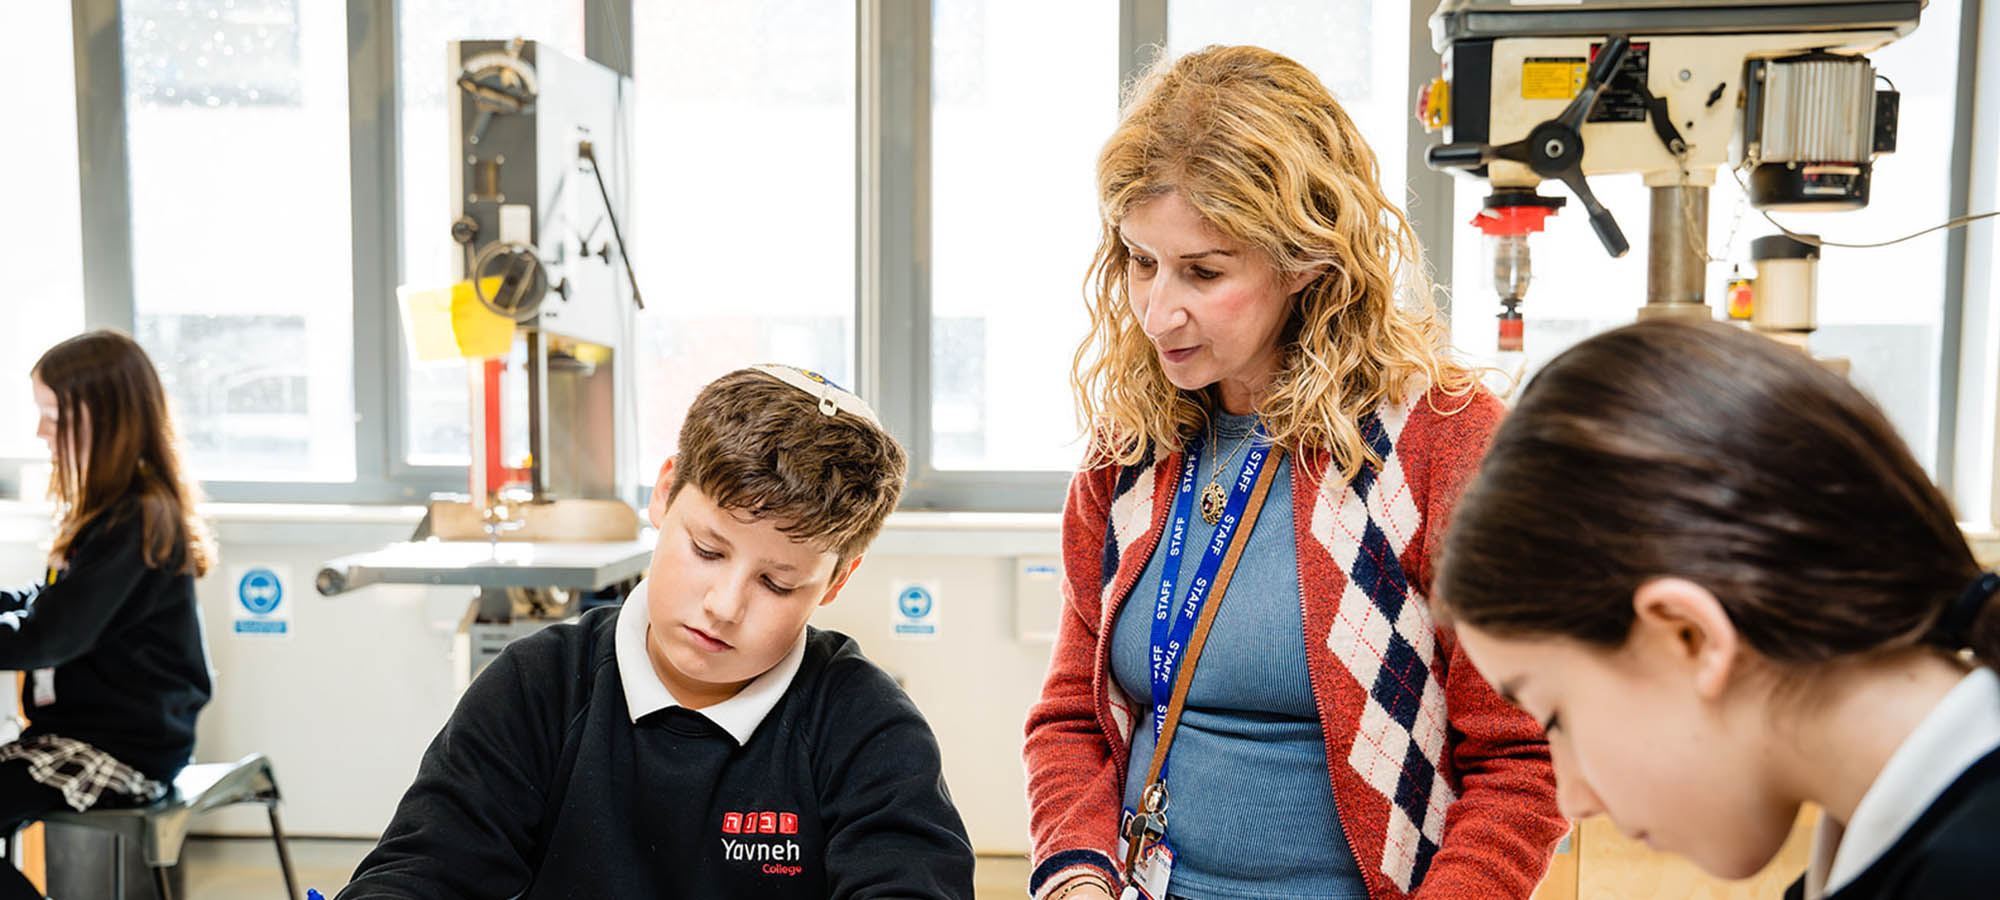


Our curriculum teaches pupils to design and make real products for real users. It starts with safe tool use, accurate marking out and first annotated sketches in Year 7, and grows into a self-directed project in Year 11 where pupils take a design from an idea, through modelling and testing, to a finished prototype they can defend. Throughout, we want pupils to design, make and evaluate like designers, not just follow instructions.
Reading like a designer
Pupils learn to read technical drawings, specifications and existing products before designing anything themselves. In Year 7, that means “reading” an everyday object — who is it for, what is it made from, why that shape? understanding different factors in everyday products and manufacture to how things look and feel, their cost and safety. Which materials are used and why before putting pencil to paper.
Speaking like a designer
Pupils justify design decisions out loud using precise vocabulary — specification, tolerance, prototype, sustainable. We model phrases like “I chose this material because…” and “this design meets my specification because…”, and pupils give each other feedback the same way: “this would work better for the user if…”.
Thinking like a designer
Designers rarely get it right first time, so pupils learn to work iteratively: design, model, test, evaluate, refine. Before a design is called finished, we simply ask: does it do what the user needs? Pupils also learn precision as a habit — measuring, checking against a tolerance, and correcting before moving on.
How we teach it
Skills are sequenced so each project deliberately reuses and builds on the last: drawing and workshop skills in Year 7, mechanisms, materials and textiles in Years 8–9, then the full iterative design process at GCSE (AQA). Core theory and the maths of the subject are kept secure through short weekly recall starters.
How we check understanding
Pupils explain their design thinking out loud as well as on paper, and the outcome on the bench tells us a great deal by itself. Low-stakes quizzes, annotated design work and end-of-project evaluations show us what is secure and what needs revisiting; at GCSE we analyse exam performance question by question and adjust our teaching accordingly.
How we support every learner
Lessons are adapted through demonstration, step-by-step visual guides, writing frames for annotation and adapted equipment where needed. We plan individual adaptations with the SEND team so that every pupil, including those with SEND or EAL, can design and make with confidence and work safely.
What great looks like
This is the standard we are reaching for with every pupil, not just our strongest designers.
Year 7
Pupils mark out and cut accurately, work safely with hand tools, and annotate a design so someone else could understand it — naming the material and why they chose it. Using technical drawing techniques to communicate their designs and ideas.
Year 8
Pupils choose materials and processes deliberately to suit a purpose, comparing two options and justifying which serves the user better, including in textiles. Improving with a verity technical drawing and modeling techniques to communicate their designs and ideas.
Year 9
Pupils carry an idea through a full iterative cycle — design, model, test, refine — and can point to where testing changed their design for the better. Bringing together creativity, problem solving for research to final product.
Year 10
Pupils investigate a real user’s needs, write a measurable specification, and develop a design others could manufacture from their drawings. Interleave prior knowledge and skill and elevate design and making practice integrating electronics with polymers and or timber work.
Year 11
Pupils complete a sustained independent project: a working prototype and portfolio, tested against their own specification, with every decision evidenced and justified with a variety of qualitative and quantitative research. Pupil are expected to show plural methods to communicate their designs with CAD, card board modeling to analyses and evaluate the client and target audience for a commercially viable product.
Help at home by…
- Asking your child to talk you through what they are making and why — the choices, not just the task.
- Noticing design together in everyday life: why is this product shaped like that, and who was it designed for? How does is impact the environment?
- Letting them measure, fix and make at home — accuracy with a ruler or tape measure is a genuinely useful habit.
- Nurture curiosity about the origin and sources of products around you, their origin material and what was its journey from raw material to now.
- Reuse, repair and recycle materials explore ways you can reduce waste and save money. How can you solve a problem with what you have not by spending money, for example: need a planter? Use a plastic bottle, design it and make it.
- Encouraging a second look before something is called finished: could the finish, fit or accuracy be improved? Continuous improvement is called iteration and is a key concept in design.
- Using YouTube as a learning resource following designers or channels such as how it’s made, a Discovery TV show following different manufacturing processes of everyday products and items in detail.